Hi Guys,
welcome to this months Article that is all about How to prepare your Cactus plants for their Winter rest.
If you live in the Northern Hemisphere like I do then its that time of year again when the growing Season is coming to a close and we have to think about the Winter plans for overwintering our cactus plants.
If you live in the Sothern Hemisphere like Australia then you are now into your Spring ( lucky you haha ) and you will be all set for the upcoming growing season ahead, but if you are like me and live in the Northern hemisphere and in Spring and Summer and early Autumn you grow your cacti either outdoors in your garden or balcony or in a greenhouse or polytunnel, then during the Winter months you will need to protect any of your cacti that can not tolerate the cold temperatures and rainfall that we get here on this side of the planet.

What Cactus/Cacti do you grow and where? this is very important on how low the temperature can go for them in Winter.
There are so many different varieties of cacti and they all vary so much in their minimum Winter temperatures, because of this it is very important to know what type of cactus/cacti you are growing, the minimum temperatures cacti can tolerate in winter can vary so much depending on where they are growing, for example cacti that are being overwintered cool and dry in a dry arid desert climate with low humidity can survive much lower temperatures in winter than cacti that are being overwintered in a climate that is rainy and high in humidity in Winter, such as where I live here in Ireland and UK.
It is the high humidity that can cause the biggest problem in winter for cacti, my climate in Northern Ireland is mild temperature wise in winter and we rarely have a deep frost, but the air humidity is nearly always around 80% and high humidity and cold is not good for cacti.
There are some extremely cold hardy Opuntia cacti such as Opuntia humifusa that can tolerate being covered in freezing Snow if the overall air humidity around them is dry.

If you are not sure what types of cactus/ cacti you grow then there is a very good website for cactus identification called CactiGuide.com as well as a plant ID App called PlantSnap but if you are still unsure of the type of cactus you are growing then its best to stay on the safe side and overwinter your cactus/cacti at a minimum winter temperature of 10c /50F as this is a safe all round temperature for nearly all of the cacti varieties.
What is the best temperature to overwinter Cacti ? and do they need Sunlight during Winter ?
Most of the Cacti like to be overwintered cool and dry ideally at a temperature between 5 – 10 Celsius / 41 -50 Fahrenheit, this encourages them to stop growing and they get to rest over the winter and also encourages blooming in the Spring and Summer of the following year, light is not such a necessity during the Winter as the cacti will not be growing and only resting, and you can overwinter cacti in a sunless unheated room, some growers including myself like to use additional grow lights in the winter for their cacti, especially for any cactus seedlings they are growing, light is still important for young cactus seedlings as cactus seedlings will need to continue to grow during winter, however light is definitely not a necessity for the mature cacti, because mature cacti are not growing during the winter, and I personally know many growers who overwinter their cacti in garages and cellars, and as long as they re introduce their cacti slowly to the light in the spring, ( e.g by protecting them with shade cloth for the first few days to acclimatise them to the higher light levels of Spring ) they have great success with overwintering their cacti this way and still manage to get a wonderful display of blooms in the Spring and Summer on their cacti.
Cactus dormancy
Cacti dormancy is triggered by the shorter day length and also the drop in temperatures, because cacti naturally slow down their growth as the days get shorter and the nights get colder as the Winter approaches, its important to stop watering your desert cacti well in advance as dormant desert cacti will not need water during the winter.
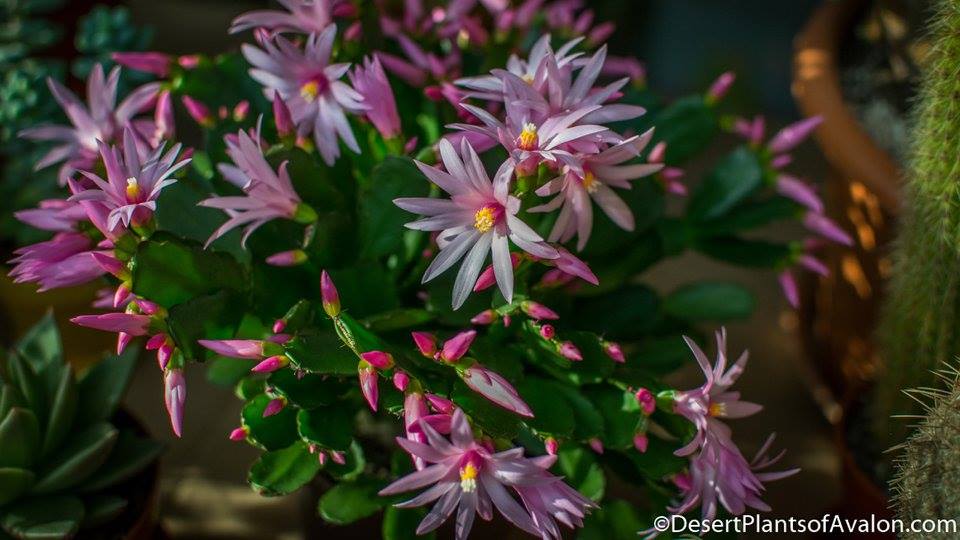
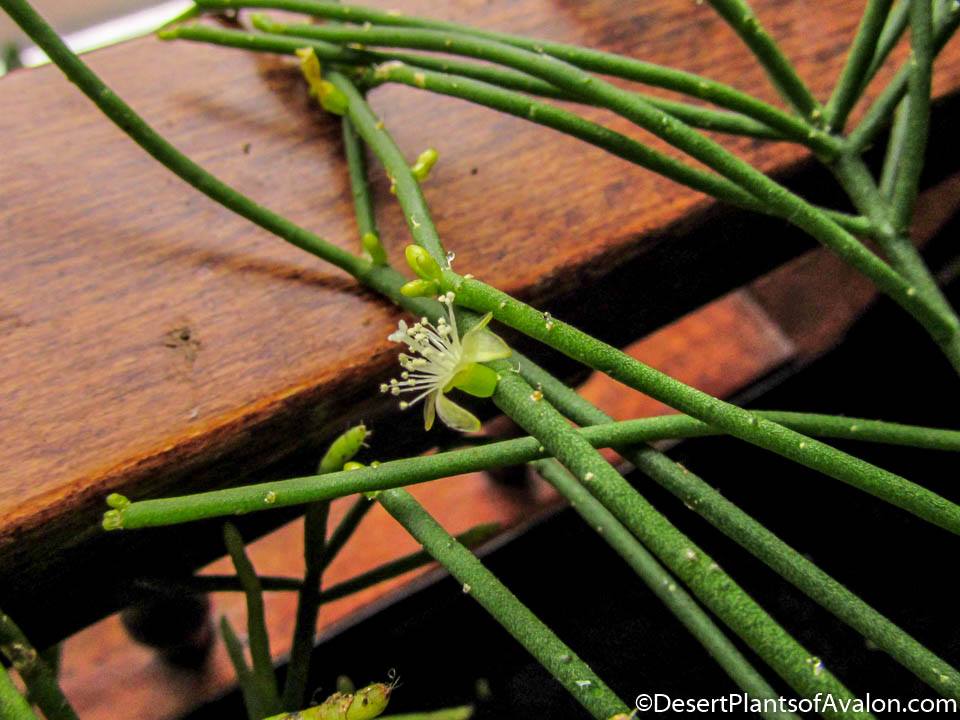
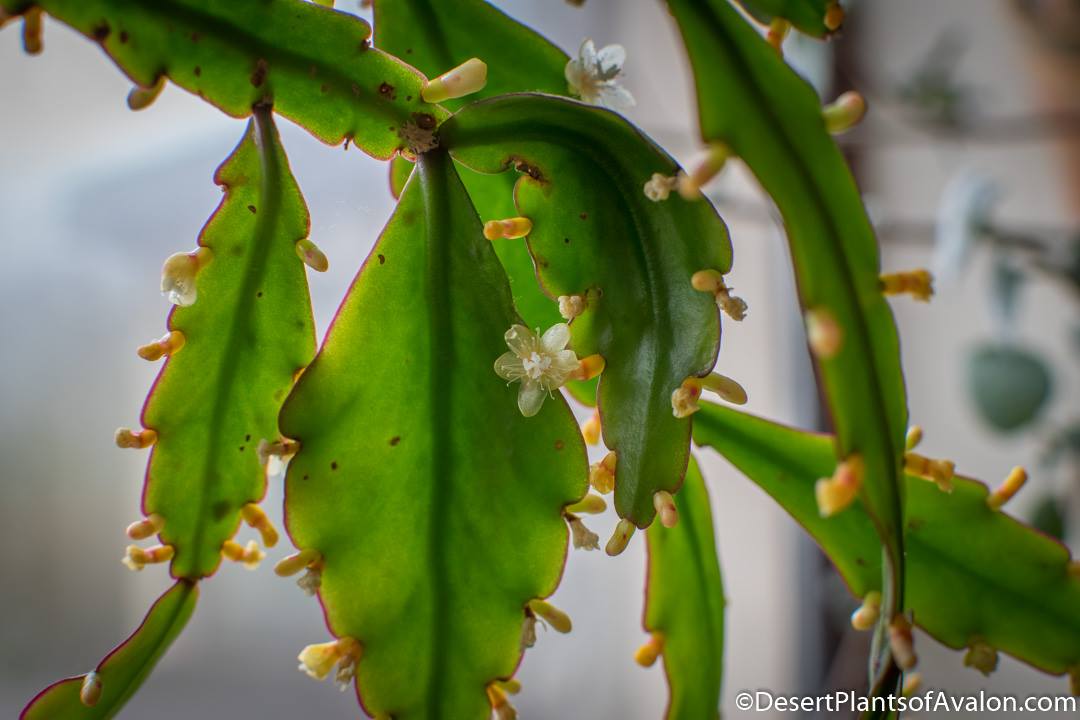
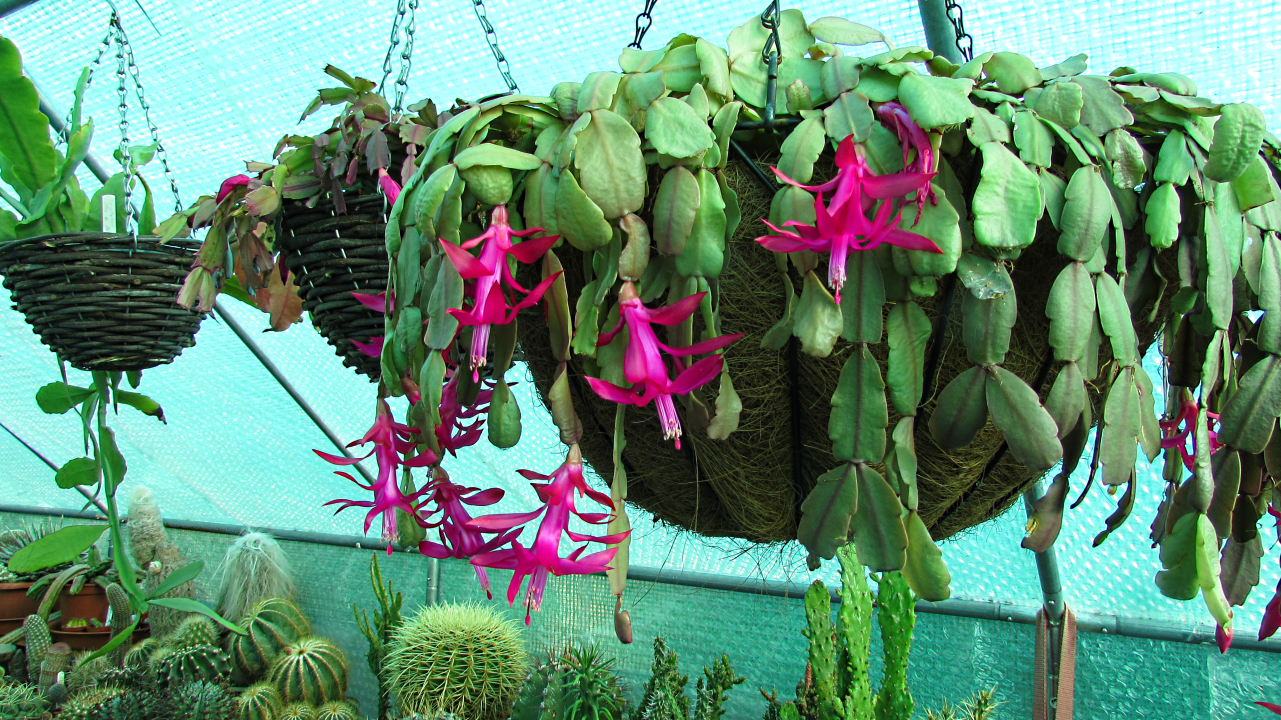
What about the Christmas & Thanksgiving Cactus or any Winter blooming Epiphytic cacti ?
the reason why I say desert and not all cacti is because there are some cacti like the Schlumbergera ( Christmas and Thanksgiving cactus ) and some of the Rhipsalis Epiphytic cacti that will still need to be lightly watered during the Winter as they are Winter flowering, there are also certain cacti like Uebelmannia and Melocactus that dont like to be kept totally dry over the whole of the winter and appreciate a light watering once every 4-6 weeks in Winter, these types of cacti also need more warmth in Winter than the other cacti do, and need a minimum winter temperature of 10c / 50F. It really helps if you know the type of cactus you have, and if you are unsure what type of cactus you have then as previously mentioned do check out CactiGuide.com to help with ID, there are also apps to help with cactus identification such as PlantSnap.
Stop Watering your desert cacti NOW!
I stop watering all of my cacti except my Epiphytic cacti from mid to late September, this is to allow plenty of time for the soil in their pots to totally dry out before the Winter approaches, the larger the pot the earlier you should stop watering, as cacti in large pots with lots of soil will hold on to more moisture in their soil, it really is important that the soil in their pots is dried out before the night temperatures get to low, If you have your cacti in a greenhouse or polytunnel or a covered balcony etc then stopping watering from late Summer early Autumn is the first thing to do to get your cacti prepared for the Winter, but if you have your cacti outside in the open in the garden then you need to move your plants to a covered position to keep the rain off them, by the time you bring your plants inside the house or greenhouse to overwinter the soil should have dried out, if you still have damp soil in pots you can use a few sheets of absorbent kitchen roll or newspaper tucked underneath the drainage holes of the pots to encourage the soil in the pots to dry out faster.
When do I bring my cacti inside for Winter ?
Its important to bring your cacti inside before the chance of any night frosts are forecast, this can depend on the country you live in, here in Ireland and the U.K we don’t usually need to worry about frost until late October / November time.
If you are overwintering your cacti inside the house then a cool and dry unheated room ideally no warmer than 15c / 60F is best, any warmer than this can prevent your cactus from going dormant and you can have issues like etiolation ( stretched out growth ), If you are not able to overwinter your cacti in an unheated room and can only overwinter them in your living room, bedroom or kitchen etc, then I would still keep them as dry as possible and only water them if they show signs of excess shrivelling, keeping them dry may not prevent them from going into a proper dormancy if the room temperature is warm but it will still help to prevent them from growing stretched out.
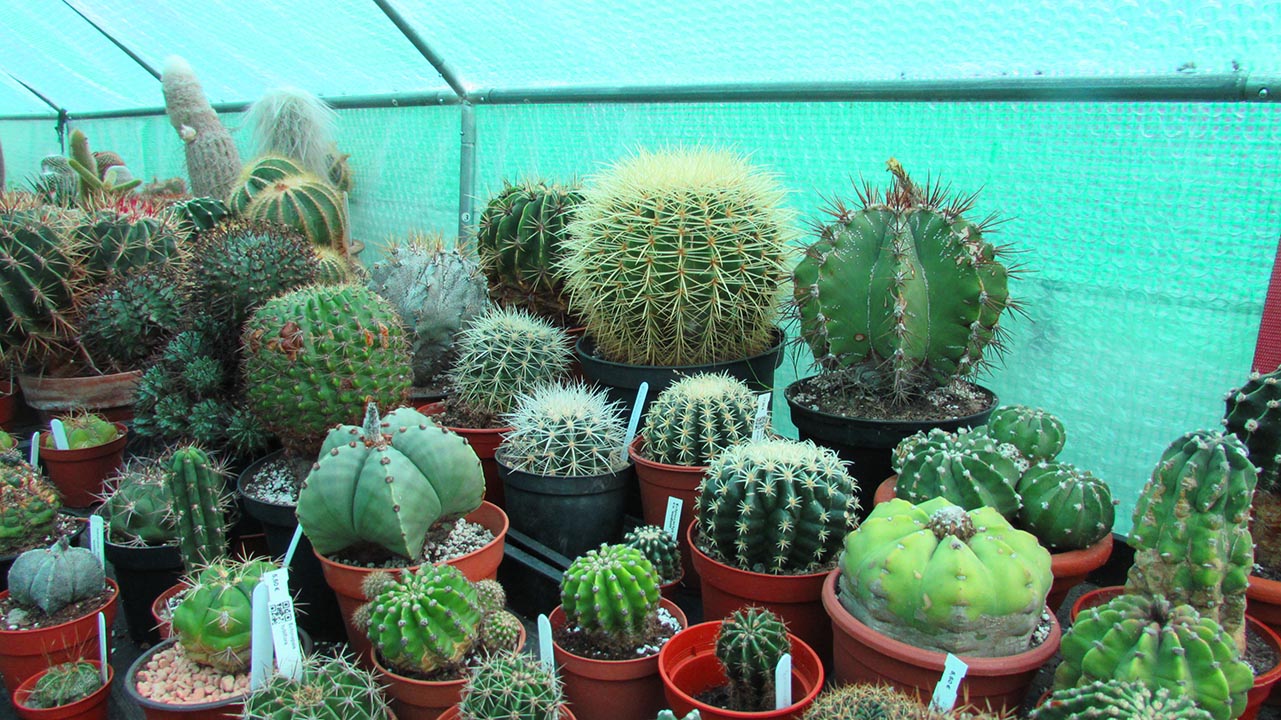
During the Autumn and Winter months I heat my polytunnel at a minimum Winter temperature of 5 Celsius / 41 Fahrenheit and I have a thermostat control that switches on if the temperature drops below 5 c / 41f inside the polytunnel, I also use a dehumidifier that is especially for cold and damp environments like greenhouse, polytunnels, garages, cellars etc, I use the dehumidifier on the wet and windy days to keep the humidity no higher than 50% inside the polytunnel, on the dry winter days I will open up the door in the polytunnel to allow plenty of air circulation as air circulation is important if you have your plants in a closed environment and the temperatures are cool, with the heater and the dehumidifier this allows me to keep a large proportion of my cacti safe over the Winter to overwinter them during their Winter rest period, but also still warm enough for the winter growing cacti such as the Schlumbergera cacti commonly known as the Thanksgiving and Christmas cacti that still continue to grow and flower during the Winter.
I hope you found this Cactus Winter Preparation Article helpful, and for an in depth video on How to Overwinter Cacti and Succulents then do check out the video I have made on my You Tube Channel called Desert Plants of Avalon on How To Overwinter Cacti and Succulents, and you can watch this video below:
If you want to know what heater I use for heating my Greenhouse/ Polytunnel then do check out this video I have made for my You Tube Channel called Desert Plants of Avalon on How I heat my Polytunnel Greenhouse in Winter, and you can watch this video below:
If you want to know what dehumidifier I use to keep the air inside my Greenhouse /Polytunnel dry in Winter, then check out this video I have made for my You Tube Channel called Desert Plants of Avalon, on installing the dehumidifier and you can watch this video below:
If you want to see my complete Greenhouse/ Polytunnel set up then check out this video I have made for my You Tube Channel called Desert Plants of Avalon on my Cacti & Succulent Polytunnel set up and you can watch this video below:
Thank you so much for reading and for lots more tips and tricks on growing Cacti and Succulents check out my You tube Channel Desert Plants of Avalon and don’t forget to Subscribe <3